
Choose what you want to move
Open Migration in Horcrux. Start by choosing the source and destination that match your goal.
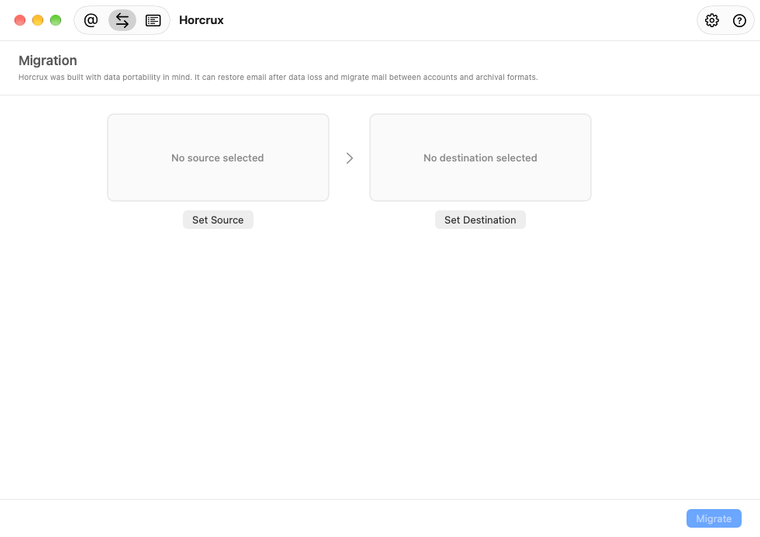
| Goal | Source and destination |
|---|---|
| Export a Horcrux backup | Saved Backup to MBOX File |
| Export a live account | Email Account to MBOX File |
| Restore a dated backup | Saved Backup to Email Account |
| Move between providers | Email Account to Email Account |
| Import an MBOX file | MBOX File to Email Account |
MBOX to MBOX is intentionally not a migration option. Use Finder to copy an MBOX file when no conversion or account upload is needed.
Set the source and destination
Saved Backup
Choose a backed-up account, then choose a dated Backup History version or Email Archive. Either can be exported to MBOX or restored to an email account. With multiple Backup Locations, Horcrux can read from another complete copy when Primary cannot supply the saved mail.
Email Account
Connect the account Horcrux should read from or write to. These credentials are used only for this migration. The account is not added to the Accounts sidebar and its credential is not saved as a backup account.
MBOX File
Choose an existing MBOX file to import, or choose where Horcrux should create an export. An export can be one MBOX file or separate MBOX files for each mailbox. MBOX is an open format that other mail tools can read.
Horcrux prevents an email account from being selected as both ends of the same migration.
Choose mailboxes, dates, and destination names
For a saved backup or connected account, you can move every mailbox or select only the folders you need. Review the destination mailbox names before starting.
- Use a date range when you only need mail from part of a saved backup.
- Use mailbox mappings to change individual destination folder names.
- Use a destination prefix to keep restored mail together, such as Horcrux Restore.
- For MBOX exports, Horcrux replaces characters that are unsafe in MBOX names.
A destination prefix is especially useful when restoring into an account that already contains mail. It makes the imported folders easy to inspect before you reorganize them.
Review and run the migration
- Confirm the source and destination.
- Review the selected mailboxes, date range, mappings, and prefix.
- Click Start Migration.
- Keep the Mac online and keep any required external storage mounted.
You can choose Continue in Background while a long migration runs. Horcrux keeps the job visible in the app so you can check its progress.
Uploading many messages is limited by the destination provider and the network connection. Leaving Horcrux running is usually faster than splitting one move into many smaller attempts.
Resume or review interrupted work
If a migration stops, Horcrux keeps a recovery record. Return to the Migration tab and choose Continue Migration. Reconnect any temporary email account when asked, then select the same migration.
Horcrux checks supported destinations before writing each message again. If you choose Forget Migration, Horcrux removes the recovery record but does not delete mail that was already restored or exported.
Before restoring into an email account
- Start with a small mailbox if you are testing a new provider or destination.
- Use a destination prefix so restored mail is easy to identify.
- Make sure the destination account has enough storage.
- Do not disconnect the source drive or close network storage while Horcrux is reading a saved backup.
If a direct route is not available for your source or provider, export to MBOX first. You can keep the MBOX as a portable copy or import it in a second step.
Need help choosing a path? Contact support with the source and destination you want to use. Do not send passwords, authorization codes, or backup files.
Restore from a backup without the app
If you have the backup folder and cannot open Horcrux, restore mail with the included fallback script. You can also open individual saved messages directly.